Bath Remodel Basics: Everything You Need to Plan Your Project

We start a successful bath remodel by defining the project scope, daily needs, budget, and existing room conditions before selecting finishes. We finalize the layout, major fixtures, rough-ins, waterproofing, ventilation, and approvals early to prevent expensive changes during construction.
Key Takeaways
- We set must-haves, nice-to-haves, and a contingency allowance before requesting estimates, especially in older homes or demolition projects.
- Next, we measure the room, confirm plumbing and electrical locations, review door swings and storage needs, and verify building restrictions before finalizing the layout.
- We prioritize durable technical work, including waterproofing, drainage, ventilation, electrical safety, and proper substrate preparation.
- Then, we choose tile, stone, cabinetry, and countertops based on water exposure, maintenance demands, slip resistance, installation requirements, and lead times.
- Finally, we coordinate permits, contractor responsibilities, product deliveries, inspections, and the installation sequence before demolition begins.
Start With Scope, Goals, and a Realistic Budget
A bath remodel can range from a quick visual refresh to a full reconstruction of the room. The project scope, rather than bathroom size alone, shapes the budget, schedule, permits, material requirements, and level of professional support needed.
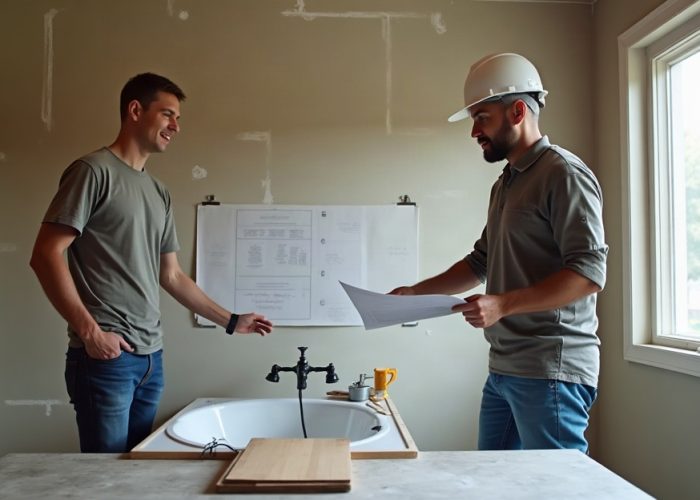
A cosmetic update may include paint, new hardware, lighting, a mirror, a vanity replacement, or surface changes with limited plumbing and electrical work. A mid-range bathroom renovation often includes new tile, fixtures, lighting, a vanity, and selected plumbing or electrical updates. A full bath remodel, sometimes called a gut renovation, can involve demolition to studs or subfloor, new waterproofing, layout changes, revised plumbing and electrical systems, structural work, accessibility improvements, and complete finish replacement.
Before requesting estimates, we recommend creating two clear categories: must-haves and nice-to-haves. Must-haves should address daily pain points, storage gaps, bathing preferences, accessibility needs, and essential style priorities. Nice-to-haves can include upgrades that may be reduced if pricing exceeds the target budget, such as premium hardware, specialty tile patterns, or statement lighting.
Local labor rates, bathroom size, home age, building type, plumbing changes, material choices, permits, and product lead times can all affect the final investment. A detailed local estimate gives a far more useful planning range than a fixed online promise. Our guide to bathroom renovation costs can help frame early budget conversations.
We should also include a contingency allowance, especially in older homes and any project involving demolition. Once walls, floors, or ceilings are opened, contractors may find aging pipes, damaged subfloors, insufficient wiring, or hidden moisture damage.
Protect the budget where performance matters most: plumbing quality, waterproofing, ventilation, electrical safety, substrate preparation, and skilled installation. Decorative details can change at many price points. Correct work behind the finished surfaces is much harder and more expensive to revise later. This approach also applies to a larger kitchen and bath renovation or kitchen and bathroom renovation, where infrastructure decisions should come before cosmetic upgrades.
Assess the Room Before Choosing Finishes
Accurate planning starts with the existing room. Measure wall lengths, ceiling height, window and door locations, and the full path of door swings. Confirm current plumbing locations, available electrical capacity, ventilation conditions, storage needs, and accessibility considerations. In condos, co-ops, brownstones, and multifamily buildings, we also need to identify building restrictions before finalizing the plan.
Keeping existing plumbing locations can simplify bathroom remodeling. Moving a toilet, drain, or supply line may require additional demolition, new piping, approvals, and labor. A layout change can still be worthwhile, but it should solve a real functional problem rather than follow a trend alone.
Review everyday circulation before selecting a vanity or shower. Allow comfortable clearance around the toilet and shower entry. Check vanity width and depth against door swings. Plan locations for outlets, mirror lighting, towel storage, and frequently used items. A beautiful plan should also support the household’s morning routine.
Major fixture decisions should come early. Decide whether a single or double sink fits the room, whether a medicine cabinet offers needed storage, and whether a shower or tub/shower combination suits the household. Explore appropriately sized bathroom vanities before choosing wall finishes, because cabinetry dimensions affect every surrounding measurement.
Shower niches, ledges, benches, and recessed storage need planning before tile installation begins. Toilet placement should leave room for towel storage and daily essentials without making the room feel crowded.
Accessibility features can make the room more comfortable now and easier to use later. Depending on the plan, we may consider a curbless or low-threshold shower, wider clearances, blocking for future grab bars, a hand shower, comfort-height toilet, easy-grip hardware, and slip-resistant flooring. These choices do not need to define the room’s look. They can blend naturally into a refined, modern design.
Finalize major fixtures, cabinetry, and rough-in requirements before selecting tile, paint, hardware, and other finish details. That sequence prevents expensive changes and helps every surface fit its intended application.
Plan the Technical Work That Protects the Bathroom
Waterproofing, ventilation, electrical planning, and installation preparation are core performance decisions. They should never be treated as invisible extras.
Tile and stone perform as part of a complete assembly. A successful installation depends on proper wall or subfloor preparation, compatible waterproofing, correct drainage slope, movement provisions where needed, suitable grout, sealants, and qualified installation. The visible tile is only one part of the finished system. We can help narrow selections through our tile application guide, which helps match materials to their intended use.
An appropriately sized and properly vented exhaust fan helps control humidity. Good ventilation can protect paint, cabinetry, finishes, and indoor air quality. Local codes and building conditions affect fan requirements, duct routing, and installation details, so licensed professionals should confirm the correct approach.
Lighting works best in layers. General lighting supports overall visibility. Vanity lighting reduces shadows and glare at the mirror. Accent lighting or shower-rated lighting can add comfort and improve function. Wet-location ratings, outlet placement near the vanity, and switch locations should be confirmed during electrical planning rather than after walls are closed.
Licensed professionals should review local permit and code requirements, and qualified installers should handle waterproofing and electrical work. Manufacturer installation instructions also matter. Selecting finishes before confirming room dimensions, fixture rough-ins, and electrical locations can cause delays, change orders, or materials that do not fit the installation.
Choose Tile, Stone, Countertops, and Finishes for Daily Use
Material selection should reflect water exposure, maintenance expectations, budget, installation needs, and design goals. No single product suits every bathroom surface.
Porcelain and ceramic tile are popular choices for their durability, water resistance, and broad design range. Natural stone brings distinctive color and movement, but its porosity, sealing needs, and maintenance expectations should fit the household routine. For wet floors, prioritize slip resistance and select products approved for the intended application. Our overview of durable bathroom floor tile options can help compare practical choices.
Tile size affects visual scale, grout-joint visibility, cutting requirements, cleaning, and installation cost. Large-format tile can create a streamlined appearance with fewer grout lines, while smaller tile may provide better traction and easier slope control on shower floors. Complex patterns, borders, and mixed materials can make a strong design statement, though they often require more layout time and labor.
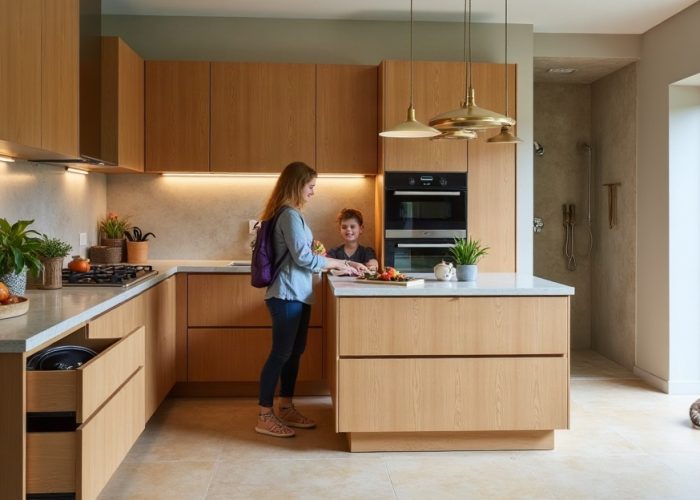
For countertops and vanities, compare water exposure, stain and scratch resistance, seams, edge profiles, maintenance, and the relationship between the counter, sink, faucet, and wall finishes. A durable base finish on high-use surfaces gives the room longevity. Mirrors, paint, lighting, hardware, and accessories offer easier places to introduce trend-driven personality.
A simple materials decision matrix can guide the process:
- For high water exposure, choose tile rated for shower walls or floors and use properly installed waterproofing beneath it.
- For lower-maintenance goals, porcelain or ceramic often offers a practical path.
- For a natural, layered look, stone may fit well when regular care is acceptable.
- For tighter budgets, simpler tile layouts and readily available finishes can control labor and lead times.
- For a dramatic design, reserve specialty materials for a focal wall, niche, or vanity area rather than every surface.
Order enough tile for cuts, breakage, layout adjustments, and future repairs. Confirm inventory and lead times before setting an installation date. For style direction, explore these modern bathroom tile ideas, then coordinate samples with fixtures and cabinetry. Our guide to coordinating tile and fixtures can make those decisions easier.
Coordinate Approvals, Ordering, Contractors, and the Project Timeline
Most projects follow a sequence: planning and design, estimating and approvals, product ordering, demolition, rough-ins, waterproofing and substrate work, installation, finishing, inspections, and a final punch list. There is no universal completion timeline. Scope, labor availability, inspections, product lead times, building requirements, and unexpected site conditions all influence progress.
Condo, co-op, brownstone, and multifamily projects often require added coordination. Building management may require board approval, alteration agreements, insurance certificates, specific work hours, elevator reservations, debris-removal procedures, noise controls, or restrictions on plumbing changes. Verify these requirements before ordering materials or scheduling demolition.
Before hiring a contractor, we should clarify the project scope in writing. Confirm what is included and excluded, who obtains permits and schedules inspections, who orders and receives materials, and who checks products for damage or missing pieces. Ask what waterproofing system and preparation methods will be used, how unforeseen conditions will be priced, and how communication, payments, and the work sequence will be managed.
Coordinate fixture dimensions, tile layouts, countertop templates, delivery access, and material storage before work begins. A well-organized plan reduces interruptions and helps installers work from confirmed information.
Avoid Common Bath Remodel Mistakes and Prepare for Expert Guidance
A clear decision order keeps the project focused: establish goals and budget, assess the layout and building limits, finalize major fixtures and rough-ins, then choose surfaces, cabinetry, lighting, and finishing details. This sequence gives the bath remodel a stronger foundation and helps prevent rushed selections.
Common Mistakes, FAQs, and Showroom Preparation
Keep these points close during planning:
- Define the scope before demolition begins. Starting without a complete plan often leads to costly decisions made under pressure.
- Include a contingency for hidden conditions, especially in older bathrooms.
- Confirm dimensions and rough-ins before purchasing finishes, fixtures, cabinetry, or countertops.
- Plan storage for towels, toiletries, cleaning supplies, and daily-use items.
- Prioritize ventilation and select floor and shower materials suited to wet conditions.
- Order sufficient tile for cuts, breakage, and future repairs. Avoid selecting solely by upfront price; cheap tile costs can rise through replacement, waste, and installation issues.
- Verify condo or co-op approval requirements before signing contracts or placing orders.
What should we plan first in a bath remodel? Start with daily needs, scope, budget, room measurements, and building requirements.
Is it cheaper to keep the existing layout? Often, yes, because keeping plumbing in place can reduce labor and disruption.
Do we need a permit? Permit needs vary by location and scope, particularly when plumbing, electrical, ventilation, or structural work changes. Licensed local professionals can confirm the requirements.
What tile works best for bathroom or shower floors? Choose tile rated for the specific floor application, with slip resistance and sizing that supports proper drainage in showers.
How long does a bathroom remodel take? The answer depends on scope, approvals, materials, inspections, and site conditions. Finalize tile, cabinetry, and countertops once dimensions, fixture locations, and rough-ins are confirmed.
Bring room measurements, inspiration images, vanity and fixture dimensions, tile application details, countertop needs, budget priorities, samples of adjacent finishes, and any building or contractor requirements to a showroom consultation. We can compare materials in person, coordinate finishes, and clarify product-specific considerations before selections are final. Visit our Galactic Tiles showroom or contact our team for practical guidance on tile, stone, cabinetry, countertops, and complete bathroom selections.