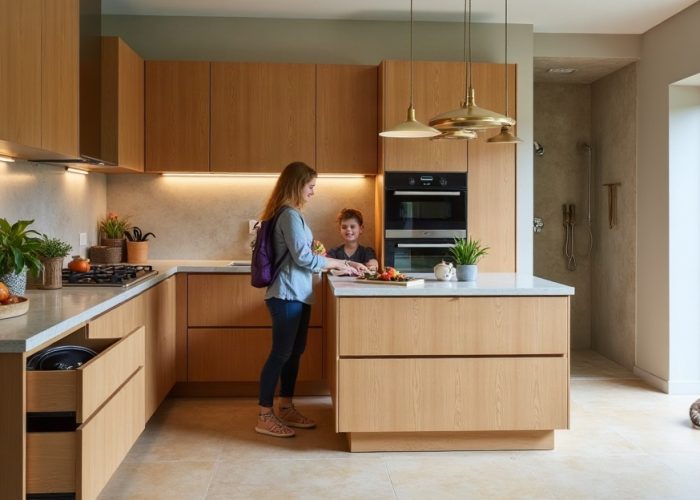
A kitchen backsplash does more than protect the wall behind your counters. It sets the tone for the entire kitchen. The tile choice matters, of course, but the grout is what finishes the look. It defines the pattern, frames each tile, affects maintenance, and can completely change how polished the final installation feels.
Grouting may seem like the last step in a backsplash project, but it is one of the most important. Done well, grout makes the tile look clean, intentional, and professionally installed. Done poorly, it can make even beautiful tile look uneven, messy, or unfinished.
If you are installing classic subway tile, handmade-look ceramic, textured tile, marble-look porcelain, or a bold feature backsplash, understanding how grout works will help you get a better result.
Why Grout Matters in a Kitchen Backsplash
Grout fills the spaces between tiles, but its role goes beyond simply closing gaps. In a kitchen, grout helps protect the wall from moisture, food splashes, cooking residue, and daily cleaning. It also supports the visual rhythm of the backsplash.
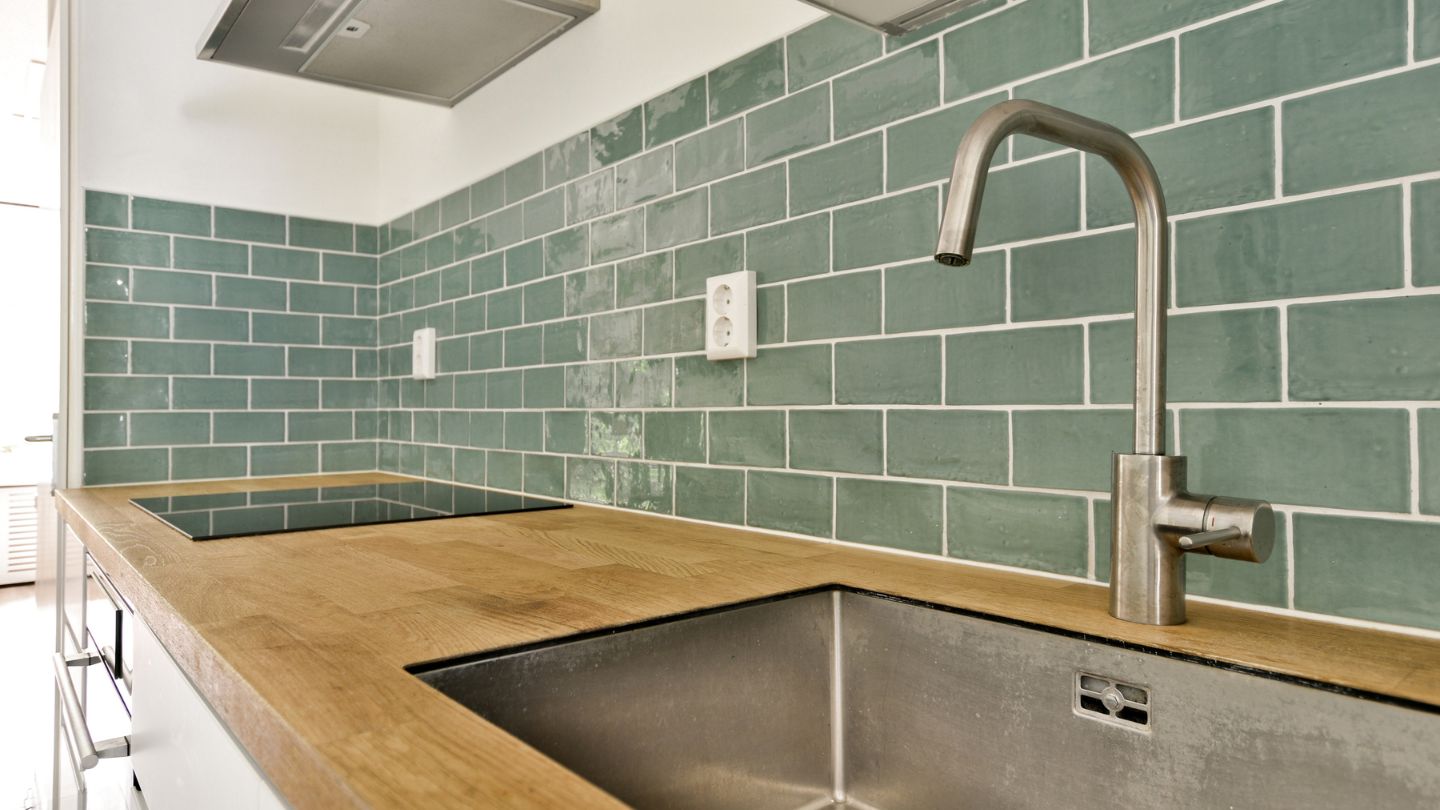
A light grout can make the backsplash feel seamless and soft. A darker grout can highlight the tile layout and add contrast. A matching grout can create a more refined, minimal look, while a contrasting grout can make simple tile feel more graphic and bold.
This is why grout should never be treated as an afterthought. The right grout color, finish, and application can make a backsplash feel elevated, balanced, and easier to maintain.
Before You Start: Make Sure the Tile Is Ready
Before installing grout, the backsplash tile must be fully set. The tile adhesive or mortar should be cured according to the manufacturer’s instructions, usually at least 24 hours. If you grout too soon, the tiles may shift, or moisture can become trapped behind the surface.
The tile surface should also be clean. Remove any spacers, dust, adhesive residue, or debris from the grout joints. The gaps between the tiles need to be open enough for grout to properly settle in.
This step is especially important with glossy, textured, or handmade-look tiles because residue can collect on uneven surfaces. Taking the time to clean the joints before grouting will make the final result much smoother.

Choose the Right Grout for Your Backsplash
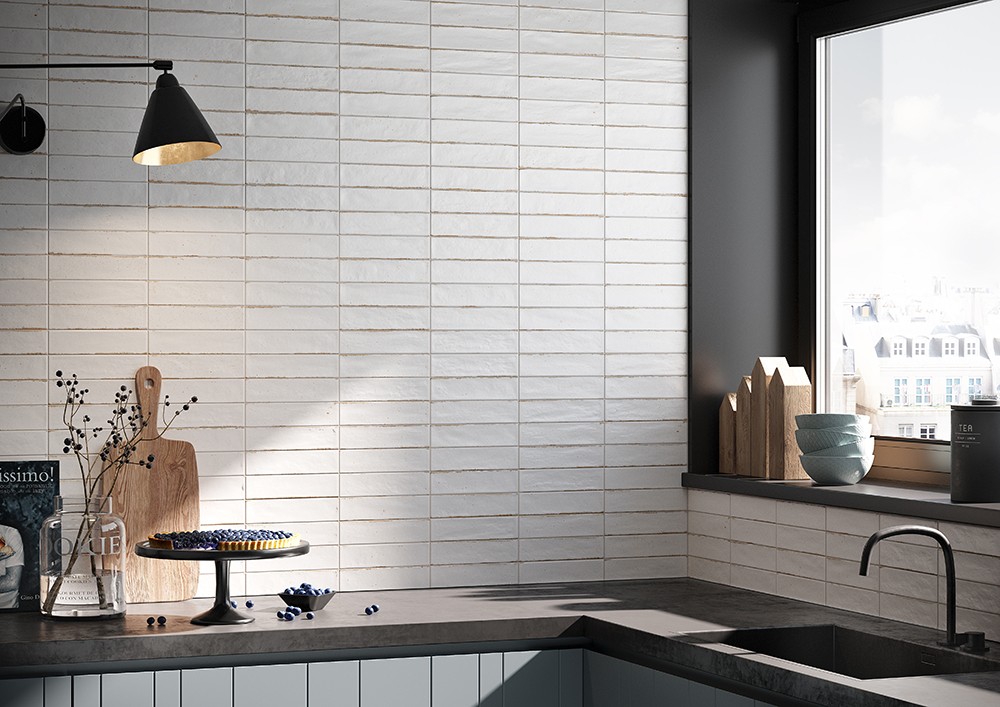
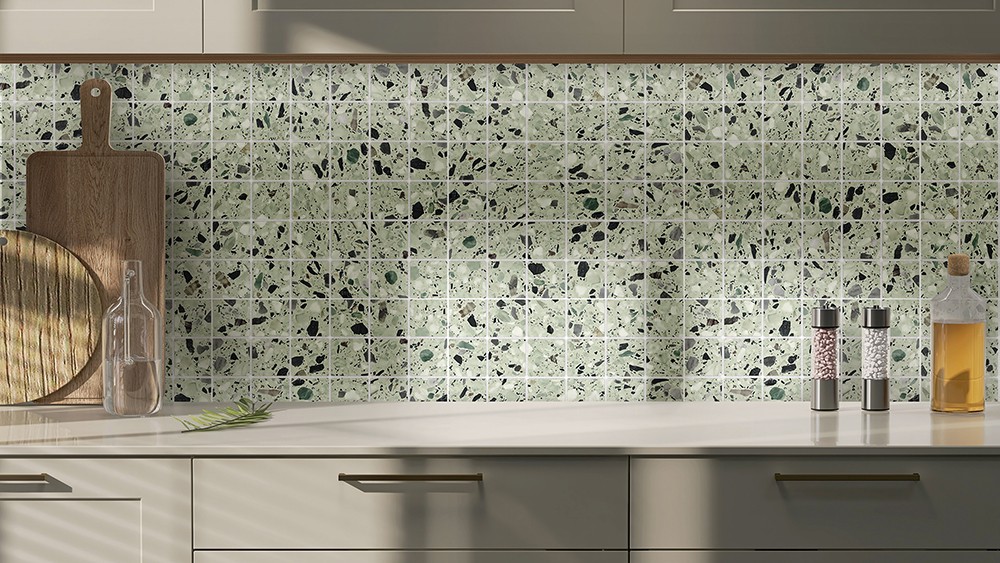
Not all grout is the same. The best option depends on the tile type, joint width, and where the backsplash is installed.
For most kitchen backsplashes, unsanded grout is commonly used for narrow grout joints and more delicate surfaces. Sanded grout is often used for wider joints because it has more structure and resists shrinking. There are also premixed and high-performance grout options that can be easier to work with and more stain-resistant.
If your backsplash is behind a range, near a sink, or in a high-use cooking area, durability matters. Kitchens deal with steam, grease, sauce splatter, and frequent wiping, so a grout that is easy to clean is worth considering.
For natural stone, marble, or porous tiles, sealing may be required before grouting to prevent staining. Some tiles can absorb pigment from grout, especially darker grout colors. When in doubt, test a small area first or ask a tile specialist before starting.
At Galactic Tiles, this is one of the details we help customers think through before installation. The right grout choice depends not only on the tile, but also on how the kitchen will be used every day.
Tools You Will Need
To grout a kitchen backsplash, you will typically need grout, a grout float, a margin trowel or mixing tool, buckets, clean water, a grout sponge, microfiber cloths, painter’s tape, and protective covering for the countertop.
If you are using powdered grout, you will also need to mix it to the right consistency. It should feel smooth and workable, similar to thick peanut butter. It should not be runny, but it also should not be so stiff that it cannot be pressed into the joints.
Protecting the countertop before you begin is always a smart move. Grout can be messy, and even careful installers will have some excess material fall during application.
Step 1: Prepare the Backsplash Area
Start by covering the countertop and any nearby surfaces. Use painter’s tape along edges where the tile meets cabinets, counters, walls, or appliances. This helps create cleaner lines and makes cleanup easier.
Check the grout joints one more time. If adhesive has squeezed up between tiles, carefully remove it before applying grout. Grout needs enough depth to bond properly and sit evenly.
You should also lightly wipe the tile surface with a damp sponge to remove dust. The tile should be clean, but not overly wet.
Step 2: Mix the Grout
If you are using powdered grout, follow the manufacturer’s instructions carefully. Add water slowly and mix until the grout reaches a smooth consistency. Let it rest, or “slake,” if the instructions call for it, then remix before applying.
Avoid adding too much water. Watery grout can weaken the final result and may lead to cracking, shrinking, or inconsistent color.
If you are using premixed grout, stir it gently before use. Premixed options can be convenient for smaller backsplash projects because they save time and reduce the risk of incorrect mixing.
Step 3: Apply the Grout with a Float
Using a grout float, spread the grout diagonally across the tile surface. Hold the float at an angle and press the grout firmly into the joints. The goal is to completely fill the gaps between the tiles, not just skim over the surface.
Work in small sections so the grout does not dry before you have time to clean it. This is especially important for textured tiles, glossy handmade-style tiles, or mosaic backsplashes with many grout lines.
Once the joints are filled, use the edge of the float to scrape away excess grout from the tile surface. Again, move diagonally across the tiles so you do not pull grout back out of the joints.
Step 4: Clean the Tile Surface
After the grout begins to firm up slightly, use a damp sponge to clean the surface. The sponge should be damp, not dripping wet. Too much water can wash grout out of the joints or affect the color.
Wipe gently in circular motions first to loosen residue, then use clean diagonal passes to smooth the grout lines. Rinse the sponge often and change the water as needed.
This part takes patience. The goal is to remove excess grout without disturbing the joints. If the grout lines become too low or uneven, add a little more grout and smooth them again.
Step 5: Remove the Grout Haze
Once the grout has set further, a light haze may appear on the tile surface. This is normal. Use a clean microfiber cloth to buff the tile and remove the haze.
For glossy backsplash tiles, this step is especially satisfying because it brings back the shine and makes the tile look finished. For matte or textured tiles, you may need to spend a little more time removing residue from the surface details.
Do not wait too long to clean the haze. The longer grout residue sits, the harder it can be to remove.
Step 6: Seal the Grout if Needed
Some grout types require sealing, while others are designed to be more stain-resistant without it. Always check the grout manufacturer’s recommendations.
In a kitchen, sealing grout can be helpful because the backsplash is exposed to moisture, grease, and food splatter. Sealer helps protect the grout and makes regular cleaning easier.
Natural stone tiles may also need sealing before and after grouting. This is especially important for porous materials that can stain or absorb moisture.
Step 7: Caulk the Edges
Grout should not be used everywhere. Where the backsplash meets the countertop, cabinets, inside corners, or other surfaces, use a flexible caulk instead of grout. These areas experience slight movement, and caulk is designed to flex where grout may crack.
Choose a caulk color that coordinates with your grout for a seamless finish. This small detail makes the installation look cleaner and more professional.
Common Grouting Mistakes to Avoid
One of the most common mistakes is choosing grout color too quickly. Grout can look different once installed, especially under kitchen lighting. Always compare samples with the actual tile, countertop, and cabinet finishes when possible.
Another mistake is using too much water during cleanup. Over-washing can weaken the grout, create uneven color, or pull material from the joints.
Rushing is also a problem. Grouting is not difficult, but it does require timing. Work in manageable sections, clean carefully, and give the grout enough time to cure before exposing it to heavy moisture or cleaning products.
Finally, do not ignore the tile surface. Textured, handmade, or porous tiles may need extra care before and during grouting. A quick test area can save a lot of frustration.
How to Choose the Best Grout Color for a Kitchen Backsplash
Grout color changes the entire personality of a backsplash.
A matching grout creates a calm, seamless look. This works beautifully with marble-look tile, warm neutral tile, and minimalist kitchens.
A light contrasting grout can soften darker tiles while still showing the layout.
A darker grout creates definition and is often used with white subway tile, geometric tile, or farmhouse-inspired kitchens. It can be practical in busy kitchens, but it also makes every grout line more visible, so tile alignment matters.
If the tile has strong veining, texture, or color variation, a neutral grout often works best. It allows the tile to remain the focus without adding visual noise.
The best grout color is the one that supports the full design story: tile, countertop, cabinetry, fixtures, lighting, and flooring.

When to Call a Professional
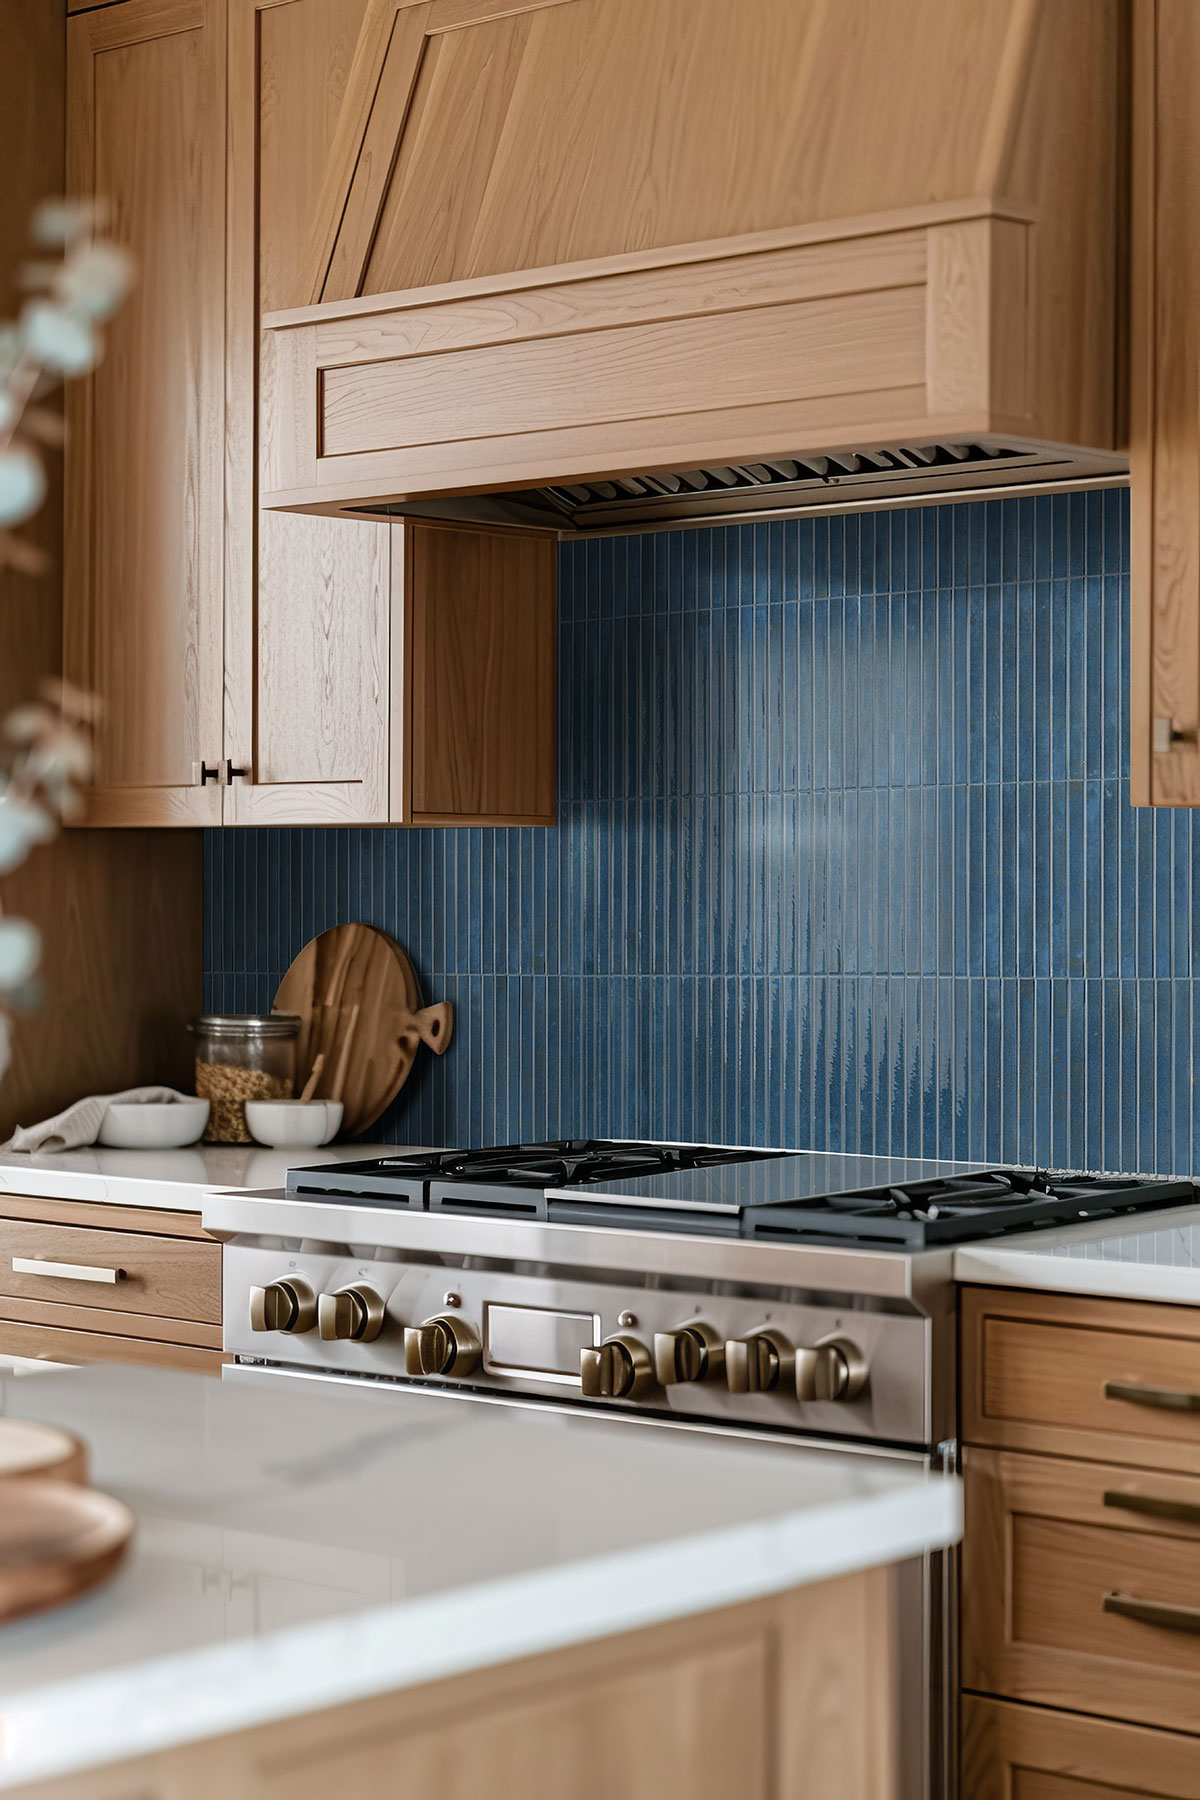
A simple backsplash may be manageable for a confident DIYer, but some projects are better left to professionals. If your backsplash includes natural stone, intricate mosaics, uneven handmade tile, large-format porcelain, or a feature wall behind a range, professional installation can make a big difference.
You should also consider professional help if the wall is uneven, the tile layout is complex, or you want a very clean, high-end finish.
A backsplash is one of the most visible surfaces in the kitchen. It sits at eye level, catches light, and frames some of the most-used areas of the space. Clean grout lines matter.
Frequently Asked Questions:
Most tile adhesives or mortars should cure for at least 24 hours before grouting, but always check the manufacturer’s instructions. Grouting too soon can cause tiles to shift or trap moisture behind the backsplash.
The best grout depends on the tile and joint width. Unsanded grout is often used for narrow joints and delicate tile surfaces, while sanded grout works better for wider joints. Premixed or stain-resistant grout can also be a smart choice for kitchens because backsplashes are exposed to moisture, grease, and food splatter.
It depends on the look you want. A grout color close to the tile creates a softer, seamless finish. A darker or contrasting grout makes the tile pattern more visible and adds definition. For a timeless kitchen, choose a grout color that works with the tile, countertop, cabinetry, and fixtures.
Key Takeaways
- Grout is not just a finishing step. It protects the backsplash, defines the tile layout, and affects how polished the kitchen feels.
- Choose grout based on more than color. Tile type, joint width, backsplash location, and maintenance needs all matter.
- Work in small sections. Grout should be pressed firmly into the joints and cleaned carefully before it dries too much.
- Use minimal water during cleanup. Too much water can weaken the grout, affect the color, or pull grout out of the joints.
- Grout color changes the entire look. Matching grout creates a soft, seamless finish, while contrasting grout makes the tile pattern stand out.
- Use caulk on edges and corners. Areas where the backsplash meets countertops, cabinets, or inside corners need flexibility.
- Some tiles need extra prep. Textured, glossy, handmade-look, natural stone, and porous tiles may need sealing or special cleaning care.
- Clean grout work makes tile look custom. Rushed or uneven grout can make even expensive tile look unfinished.
Final Thoughts
Installing grout on a kitchen backsplash is the step that brings the whole project together. It protects the tile, completes the pattern, and helps define the final look of the kitchen.
The best results come from careful preparation, the right grout choice, clean application, and thoughtful color selection. Whether you want a seamless, soft finish or a bold, high-contrast design, grout plays a major role in how the backsplash feels.
At Galactic Tiles, we help homeowners, designers, and contractors choose tile, grout, fixtures, and finish pairings that work together beautifully. From classic subway tile to textured backsplashes, marble-look porcelain, mosaics, and statement kitchen walls, the right materials can turn a simple backsplash into one of the most intentional details in your home.
If you are planning a kitchen renovation or backsplash update, visit Galactic Tiles to explore tile options, grout pairings, and fixture finishes in person.